Why DIY for Halloween?
DIY costumes win for three big reasons: they save money, let you customize exactly how you want, and they’re actually fun to make. Want a group theme that’s unique? Do it yourself. Need a costume that’s comfortable for trick-or-treating? Build it to fit. Plus, making costumes encourages resourcefulness — upcycle that old tee, repurpose cardboard boxes, and suddenly you’ve got a look that says “original.” So… why buy when you can invent?
How to Plan Your DIY Costume
A smart plan keeps Halloween stress-free. Start with a concept, then check what materials you already own. Ask: is this comfy? Can it survive a night of walking or a party? Set a budget (even $10 helps focus choices), and choose a timeline — one evening for a simple mask, a week for an involved group costume. Keep sketches or Pinterest boards; even a crude doodle helps.
Choosing a concept that fits your skills and supplies
Not a seasoned sewer? No problem — choose no-sew or glue-and-tape styles. Comfortable with basic stitches? You can elevate looks with simple hems. Match complexity to time and patience. The goal: a costume that looks intentional, not thrown together.
Setting a realistic budget and timeline
Decide how much you want to spend overall, then break it into categories: fabric/upcycle, accessories, makeup, and tools. Often, the “tools” are one-time buys (glue sticks, fabric paint) that pay off across future projects. Set milestones: day 1 gather supplies, day 2 cut & assemble, day 3 details & dress rehearsal.
Essential Materials & Tools for Budget DIY Costumes
You don’t need a craft store haul to make an impression. Here’s a starter kit that covers almost everything: old T-shirts/sheets, cardboard, felt, hot glue, safety pins, fabric paint, elastic, scissors, a sharpie, and a needle + thread. Add LEDs and battery packs if you want lights — they’re cheap and dramatic.
Upcycling household items
T-shirts become capes; cardboard turns into armor; bedsheets can be draped, dyed or cut. Before buying anything, do a quick “house sweep” for items that can be repurposed. That coffee tin might become a robot helmet — be creative.
Affordable craft supplies
A small investment in felt, hot glue sticks, and basic paints goes a long way. Felt is great because it doesn’t fray and hides gluing edges. Fabric paint can transform a plain tee into a branded costume or faux leather look.
Tools you really need
Scissors (fabric and paper), a hot glue gun, pins, measuring tape, and a marker. If you sew occasionally, a needle + thread or a cheap handheld sewing machine helps. For kids’ costumes, safe scissors and non-toxic glue are essential.
Easy Costume Ideas for Adults
Here are three adult-friendly, budget-conscious ideas with steps you can finish in a few hours. Each is easily adapted for couples or groups.
Classic Ghost with a Twist (No-sew vintage ghost)
Materials: white sheet or oversized shirt, fabric scissors, black felt, fabric paint.
Steps: 1) Cut eye holes—but first drape and mark where they sit; 2) Use felt cut-outs or paint to create a face (funny, scary, or glamorous); 3) Add a belt or sash to create shape; 4) Carry a themed prop (old lantern, book). Tip: fray the hem and add tea staining for a vintage vibe.
Cardboard Robot (Light-up option)
Materials: cardboard boxes, silver spray paint or foil, hot glue, colored cellophane for “panels,” battery-powered LED tea lights.
Steps: 1) Measure and cut a torso box and head box; 2) Cut holes for arms and head, pad edges; 3) Cover with foil or spray paint; 4) Glue cellophane “screens” over cutouts and place LEDs behind them. Add antennae made from paper towel tubes wrapped in foil.
Retro Tourist (Easy & Iconic)
Materials: Hawaiian shirt or thrifted bright shirt, shorts, socks + sandals, camera (real or toy), map, sunglasses.
Steps: 1) Raid your closet or the thrift shop for bold patterns; 2) Accessorize with a fanny pack, cheap disposable camera, and sunhat; 3) Add temporary tattoos or a name tag saying “On Vacation.” This is comfortable, funny, and instantly recognizable.
Easy Costume Ideas for Kids
Kids need costumes that are comfy, safe, and easy to move in. These three ideas satisfy all three requirements and are quick to make.
Paper Plate Mask Animal
Materials: paper plates, elastic, crayons/paint, yarn for mane/whiskers.
Steps: 1) Cut eye holes in the plate; 2) Paint or color the face; 3) Glue yarn for mane or whiskers; 4) Attach elastic to hold the mask. Tip: reinforce the plate with cardboard for durability.
Hand-Painted Superhero Cape
Materials: old T-shirt or fabric, fabric paint, ribbon or elastic.
Steps: 1) Cut cape shape from fabric or an old T-shirt; 2) Paint a chest emblem or initial; 3) Sew or glue ribbon loops for shoulders or tie behind the neck. Durable, washable, and reusable.
DIY Mini-Mummy
Materials: white leggings/shirt, cheap gauze or cut-up strips of sheet, fabric glue or safety pins.
Steps: 1) Dress child in white base layers; 2) Wrap gauze loosely and secure with dots of fabric glue; 3) Keep face clear and use soft strips so they can move easily. Comfortable and cute.
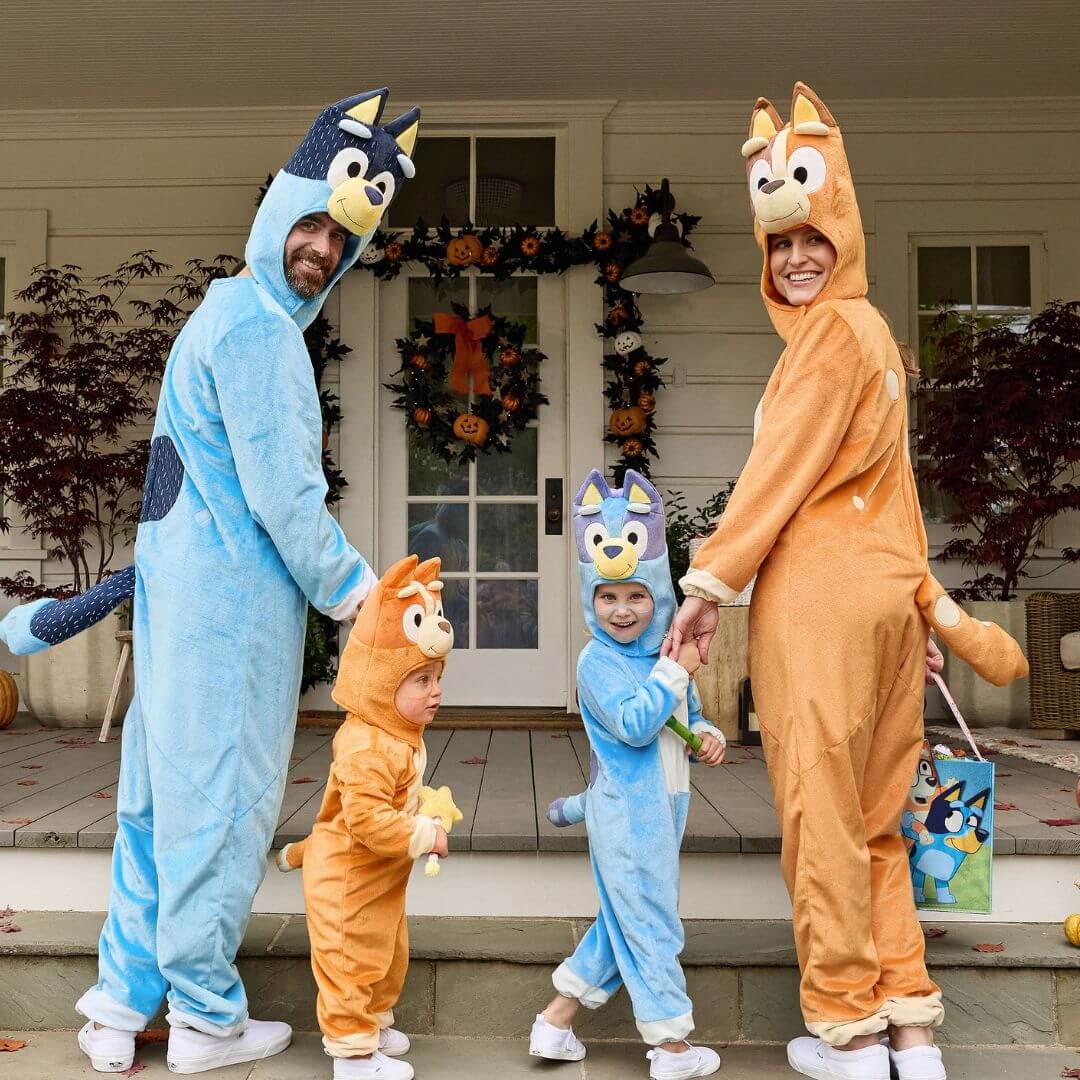
Couples & Group Costume Ideas
Coordinated looks read well with minimal effort. Pick a theme and assign simple variations:
Food Pairings (Peanut Butter & Jelly, Salt & Pepper)
Use felt panels, color-coded shirts, and clever signage. These are cozy for parties and great for kids.
Movie/Show Mashups
Pick iconic accessories (a hat, a prop, or a wig) and you’re recognizable. Mashups can be humorous and only need one standout element per person.
Simple Historical or Decade Groups
A few thrifted items and hair styling can recreate the ‘70s, ‘80s, or a Victorian group without custom tailoring.
Costumes from Thrift Finds: How to Spot & Transform Gems
Thrift stores are treasure troves — look for solid fabrics, interesting trims, or pieces with great silhouettes. A $5 blazer can become a steampunk jacket with elbow patches and buttons. A long dress can be shortened and belted into a flapper or witch costume. The rule: buy for shape, fix the rest.
What to look for in thrift stores
Good seams, fabric that isn’t worn-through, and distinct textures or trims. Avoid heavily stained items unless they’re salvageable.
Quick refashions
Simple changes like hemming, adding patches, or swapping buttons can elevate a thrift piece into a standout costume.
Quick Makeup & Accessory Hacks to Elevate Any Costume
Makeup can transform the simplest outfit into something cinematic. Use eyeshadow to contour, eyeliner for sharp shapes, and face gems or glitter for glam. For accessories: a big hat, an old belt, or bold sunglasses can read as character-defining. If you’re short on time, focus on one focal point: dramatic lips, a painted symbol, or a statement headpiece.
Using everyday makeup for dramatic looks
Turn bronzer into shading, use brown liner to draw faux scars, and layer mascara for puppet-like eyes. Waterproof makeup ensures your look survives the night.
Cheap accessories that read big
Search dollar stores for LED keychains, costume jewelry, and plastic props. Wrap fairy lights around props for instant wow factor.
Safety & Comfort Tips
Never sacrifice safety for effect. Make sure eyeholes are large enough, costumes don’t drag on the ground, and reflective tape is added for nighttime visibility. If it’s cold, layer thin thermal clothing under the costume. For kids, avoid long strings or tiny choking hazards. Consider flame-retardant materials or treat fabrics with spray-on flame retardant if using open flames in props or candles.
Saving Money Without Looking Cheap
Details matter. Clean edges, well-placed accessories, and a confident attitude make budget materials look deliberate. Invest a few dollars in one focal piece—like a wig or a great hat—and keep the rest simple. Presentation (posture, makeup, props) sells the costume more than expensive fabric does.
Final Checklist Before You Head Out
- Test mobility and vision.
- Pack repair kit: safety pins, glue stick, tape, extra elastic.
- Weather-proof: a poncho or sealed boots if rain’s forecast.
- Reflective tape or small LED if you’ll be out at night.
- Confirm any party or event rules about masks or props.
Conclusion
Bold creativity doesn’t need a bold budget. With a little planning, a trip through your closet, and a handful of inexpensive supplies, you can make a Halloween costume that’s comfy, clever, and entirely your own. DIY costumes are about storytelling — choose a character you love, add personal details, and wear it proudly. After all, Halloween is the one night a year where the wilder your idea, the better it reads. So raid those cupboards, gather your crew, and make something memorable. Happy crafting!
FAQs
Q1: How long will a simple DIY costume take to make?
A1: Most simple costumes (masks, capes, no-sew outfits) can be completed in 1–3 hours. More detailed group or sewn costumes may take several evenings. Plan accordingly.
Q2: Can I make a safe Halloween costume for a toddler?
A2: Yes — prioritize mobility, breathable fabrics, and remove small choking hazards. Keep face paint non-toxic and hypoallergenic. Opt for soft fabrics and avoid long trailing pieces.
Q3: What’s the cheapest material to use for costumes?
A3: Upcycled textiles (old shirts, sheets), cardboard, and felt are extremely cheap and versatile. Dollar-store accessories and craft supplies are also budget-friendly.
Q4: How can I make a costume look more expensive?
A4: Focus on clean finishing (neat edges, hidden glue lines), a single standout accessory, and good makeup. Presentation—how you wear the costume—makes a big difference.
Q5: Any tips for making group costumes quickly?
A5: Pick a unifying prop or color palette and assign roles with small distinguishing details (hats, patches, badges). Use repeated elements so each outfit is quick to assemble but reads as a set.
.
- Explore cute, budget-friendly Halloween candies and small props that elevate any DIY costume.
- Perfect for last-minute themed treats and accessories to make your handmade costume pop.