There’s something addictive about turning ordinary spaces into spooky scenes with your own two hands. DIY Halloween decor gives your home personality (no cookie-cutter haunted house here), stretches your budget farther, and—if you reuse and upcycle—keeps things greener. Add a handful of clever buys from Spirit Halloween and you get the drama of store-bought props with the soul of a handmade touch. Why settle for “scary” when you can do “signature scary”?
Why DIY Halloween Decor Rocks
Personality, Cost, and Sustainability
Want a Victorian séance vibe or a goofy candy-monster theme? DIY lets you choose. Cost-wise, a few staple items from Spirit Halloween (think animatronics, themed fabric, and masks) paired with thrifted finds beat buying dozens of single-use decorations. Plus, upcycling means less waste—turn last year’s plastic skeleton into this year’s glowing centerpiece with a little paint and imagination.
Planning Your Halloween Look
Choose a Theme
Pick a broad theme first—Classic Gothic, Retro Campy, Creepy Carnival, Witchy Cottage, or Minimalist Macabre. A theme keeps purchases focused and makes it easy to mix Spirit Halloween props with home items.
Gather Your Spirit Halloween Treasures
Walk the aisles (or browse online) for anchor pieces: one animatronic, a few smaller props (skulls, potion bottles), special lighting, and fabric backdrops. These items give an instant “professional” look — then you personalize around them.
Budget Checklist
- Anchor prop (animatronic or major statue) — 1 item
- Accent props (masks, skulls, jars) — 3–8 items
- Lighting (LED candles, spotlights, string lights) — 2–4 types
- Craft supplies (spray paint, hot glue, floral foam) — as needed
- Fasteners (zip ties, Command strips, stakes) — essentials
Essential Tools & Materials (From Spirit Halloween + Household Items)
Tools You’ll Need
- Hot glue gun + sticks
- Wire cutters / craft knife
- Staple gun (for fabric backdrops)
- Paint brushes + foam brushes
- Drill or screwdriver (for stakes/frames)
Reusable vs Single-Use Materials
Prioritize reusable staples: LED lights, reusable fabric, and quality animatronics (they last years). Save single-use items (fake cobwebs, glitter) for accent splashes. Use neutral storage bins to protect electronics between Halloweens.
DIY Project 1: Spooky Entryway — Animated Prop Display
Make your door the neighborhood “must-see.” An animated prop from Spirit Halloween anchors the scene while crafted elements build the mood.
What to Buy at Spirit Halloween
- One medium animatronic (e.g., talking skeleton or witch)
- A fogger (optional) or LED strobe
- Drapery fabric or black gauze
Step-by-Step Build
- Pick a central animatronic and position it to face the sidewalk.
- Create a base: stack old crates or a small table and drape fabric to hide supports.
- Add height with a coat rack or PVC pipe wrapped in gauze.
- Place LED uplights behind the prop to create shadows. Use battery-powered lights for easy setup and safety.
- Scatter smaller props (skulls, potion bottles) and secure them with hot glue or tacky putty so wind won’t send them flying.
- If using fog, run it briefly when trick-or-treaters arrive—timed bursts are safer and more dramatic.
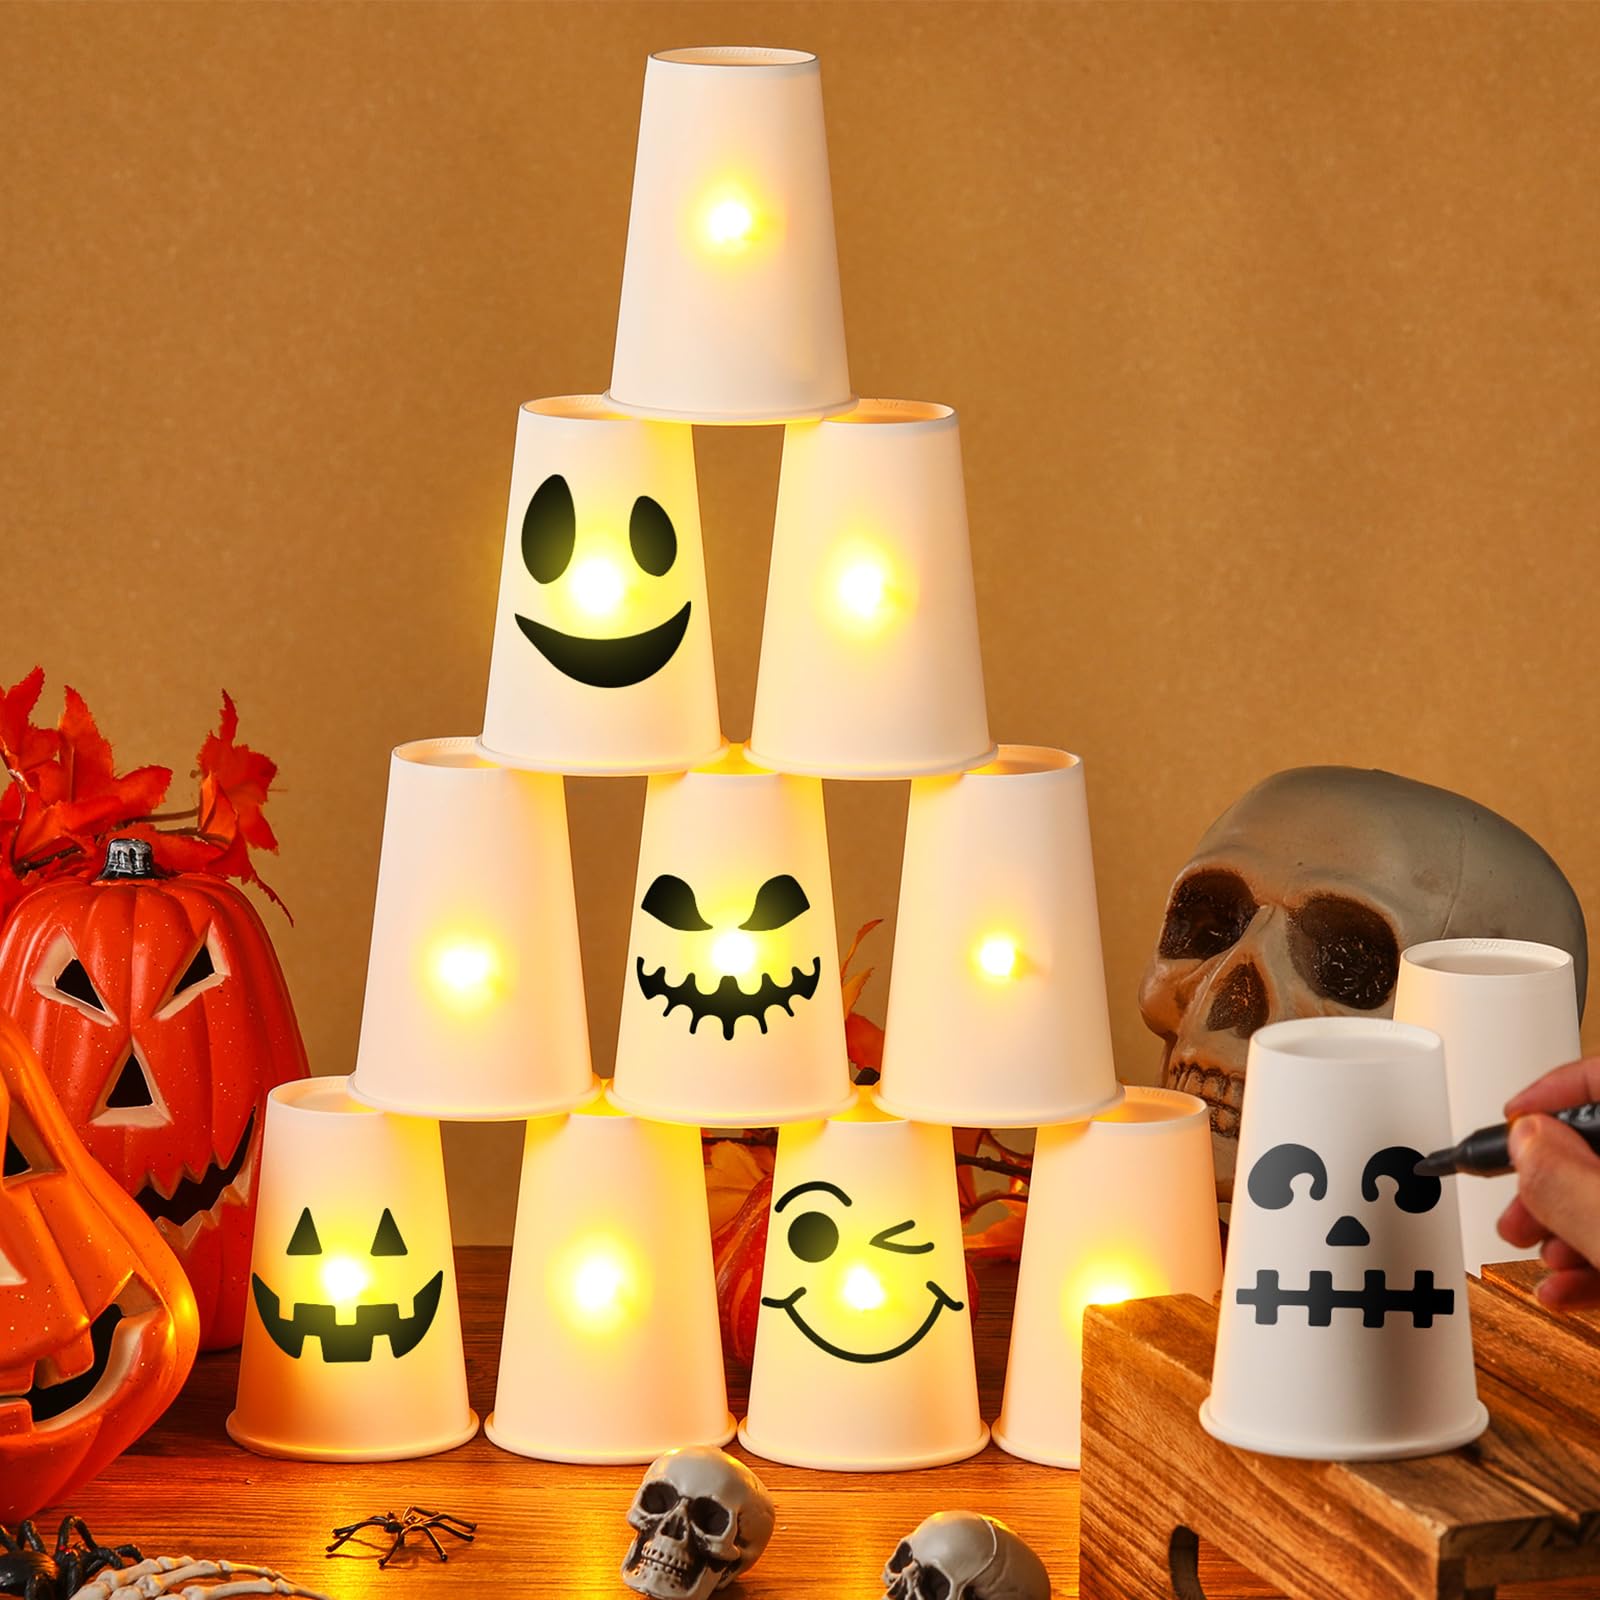
DIY Project 2: Creepy Candlelit Centerpiece
Perfect for an entry table or dining centerpiece—moody, elegant, and safe when you use LEDs.
Materials
- A shallow tray or wooden slab
- LED taper candles or flameless tealights
- Decorative moss, faux insects, faux bones from Spirit Halloween
- Small glass bottles (toxic potion labels optional)
Assembly Steps
- Arrange candles of varying heights on the tray.
- Tuck moss and faux bones around them for texture.
- Add potion bottles with handwritten labels (“Nightshade,” “Sleep Dust”) for a witchy touch.
- Sprinkle a few faux insects or crystals for shimmer. Voila—instant eerie elegance.
DIY Project 3: Haunted Gallery Wall (Frames + Masks)
Turn a blank hallway into a chilling portrait collection. Mix thrifted frames with Spirit Halloween masks for uncanny results.
Choosing Pieces
Alternate framed vintage photos with eerie masks or silhouette cutouts. Add small plaques with faux family names (“The Widders — est. 1892”) for storytelling.
Hanging & Lighting Tips
Place small LED puck lights above key frames to cast dramatic light. Use adhesive picture-hanging strips to avoid wall damage—especially useful for renters. For an extra chill, add a faint sound module hidden behind a frame.
DIY Project 4: Ghostly Outdoor Stakes + Path Lighting
Make your path the red carpet of scares—guests will remember the approach before they reach your door.
Weatherproofing Tips
Use outdoor-rated stakes and seal any paper or fabric with spray waterproofer. Mount battery-powered lights into clear jars to protect them from moisture.
Safety & Placement
Keep stakes away from walkways where little feet could trip. Use soft LEDs rather than open flames, and stagger lights so the path is visible but still spooky.
DIY Project 5: Upcycled Costume Display / Mannequin Scene
Give old costumes new life by creating a scene — a ghostly tea party or a headless butler — using mannequins or foam forms.
Styling Tips
Layer clothing (tulle, coats, gloves) and add a wig or mask from Spirit Halloween. Use fishing line to “float” a scarf or hat for motion.
Fast Assembly
Use a foam mannequin or dress form as a base. Secure clothes with pins and hot glue. Add a small speaker nearby to play ambience — the scene feels alive with low, eerie music.
Quick Hacks: Make-It-Fast & Budget Tricks with Spirit Halloween Finds
- Transform a display skeleton into a hanging planter with moss and a small pot.
- Spray-paint dollar-store frames matte black and add spider decals from Spirit Halloween for instant gothic charm.
- Use spray adhesive + cheesecloth to make instant burial shrouds.
- Repurpose LED strings as “veins” inside translucent skulls for an internal glow.
Photography & Social Sharing Tips (Pinterest + Instagram)
Want viral cred? Stage photos with a clear focal point, use golden-hour light or a ring light, and take close-ups of texture (moss, fabric, paint). Pin vertical images to Pinterest and include step-by-step carousel posts on Instagram. Use keywords like “Spirit Halloween DIY”, “Halloween decor tutorial”, and theme-specific tags to get discovered.
Storage & Reuse: Keep Decorations Fresh for Next Year
After the thrill, sort props into labeled bins: Electronics, Fragile, Fabric, and Small Parts. Remove batteries and store animatronics in breathable fabric or the original boxes if possible. A simple inventory list (photo + label) helps you remember what you own next year and prevents duplicate purchases.
Safety Tips When Working with Props & Electronics
- Always remove batteries when storing electronics.
- Use GFCI-protected outlets for outdoor plugs.
- Anchor tall props to prevent tipping.
- Don’t overload extension cords; check for frayed wires before use.
Final Styling: Layering, Lights, Sounds, and Scent
The secret to a polished Halloween display is layering. Combine a loud anchor prop with subtle accents: low lights, soft rustling sound loops, and a scent (pumpkin spice or earthy pine) to make the scene immersive. Small details—like a flickering candle reflection or a cobweb caught on a picture frame—are what make photos and memories sing.
Conclusion
DIY Halloween decor is where imagination meets strategy. With a few key purchases from Spirit Halloween, household upcycles, and the techniques above, you can create a show-stopping haunted scene that feels professional without breaking the bank. Start with a theme, choose an anchor prop, build in layers, and don’t forget safety and storage—because great scares deserve a great encore next year. Get crafting, and make this Halloween your neighborhood’s most memorable!
FAQs
1. Can I make these projects if I’m not crafty?
Absolutely. Start with simple hacks—draping fabric, grouping LED candles, and using pre-made props from Spirit Halloween. Many projects require minimal tools and reward creativity more than technique.
2. Are Spirit Halloween animatronics weatherproof?
Most animatronics are designed for indoor use; check product specs. If you use them outdoors, place them under a porch or protected cover and avoid direct exposure to rain. Battery-powered LED props are safer outdoors.
3. How do I make decorations kid-friendly?
Opt for playful themes (monster dance party, friendly ghosts), avoid gore, choose soft lighting, and secure all props so kids can’t pull them down. Use battery LEDs instead of candles.
4. How much time should I budget for these projects?
Simple projects (centerpiece, gallery wall) can take 30–90 minutes. Larger builds (animatronic display, mannequin scene) may take 2–4 hours depending on complexity. Plan a prep day for painting and drying.
5. Where should I store my Spirit Halloween supplies between Halloweens?
Store electronics in a cool, dry place with batteries removed. Soft items go in breathable bins; fragile props in cushioned boxes. Photograph your stash and keep an inventory—future-you will thank present-you.
.
Get inspired this spooky season with Spirit Halloween’s DIY decor treasures! 🎃 Turn your home into a creative haunted haven with simple, budget-friendly craft ideas. 👻